

Due to supply difficulties and my lack of experience making anything like it, as well as a determination to complete the project without the help of a car, the final design was a bit different…

I joined the Auckland Tool Library, which was $40 for 3 months and meant in this time I could borrow from a wide range of inventory. I got special permission to cut the piece of wood in half with a circular saw on site since the spaces for projects (such as HackLand) in Auckland Central had all shut down or diminished membership criteria due to Covid19 making them unviable. A nice volunteer handed me all the safety equipment, showed me how to set it up in the carpark, and advised me of how to make the cut. He suspected the wood might be hollow and we talked through some alternatives, but I walked home carrying the pieces of chopped up wood and feeling a little dejected.
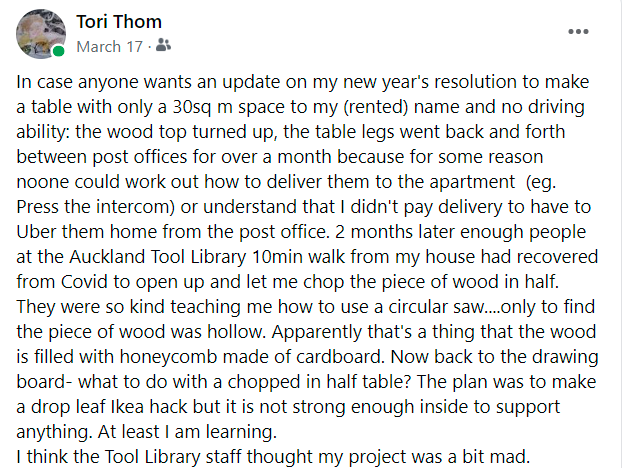
Solution, after some thought and chats with friends: reinforcement with garden stakes from Bunnings turned out to be a good option and were delivered to my apartment. Here, they are about to be cut to size using saw/ clamps from Auckland Tool Library and bar stools to hold them in place (explained further down this story).


Con’s of this project: While Ikea offers a useful range of parts which allow modification to sort small space living (involving a smaller carbon footprint than large space living), as well as providing a delivery service, it turns out they use an unnecessary amount of packaging. Each table leg is covered in plastic with screws for each packaged separately, and each leg comes with a manual, also wrapped in plastic. I used some bits of the cardboard for reinforcement of my table, but the plastic had to be thrown out.
Also, DIY carpentry is hard and takes longer than you think!


The only thing left to do at this point is pick up the final 2 legs for when it is a full sized table. I was planning to purchase foldable legs but have since realized I can get identical Ikea legs for a fraction of the price and they easily screw on and off.
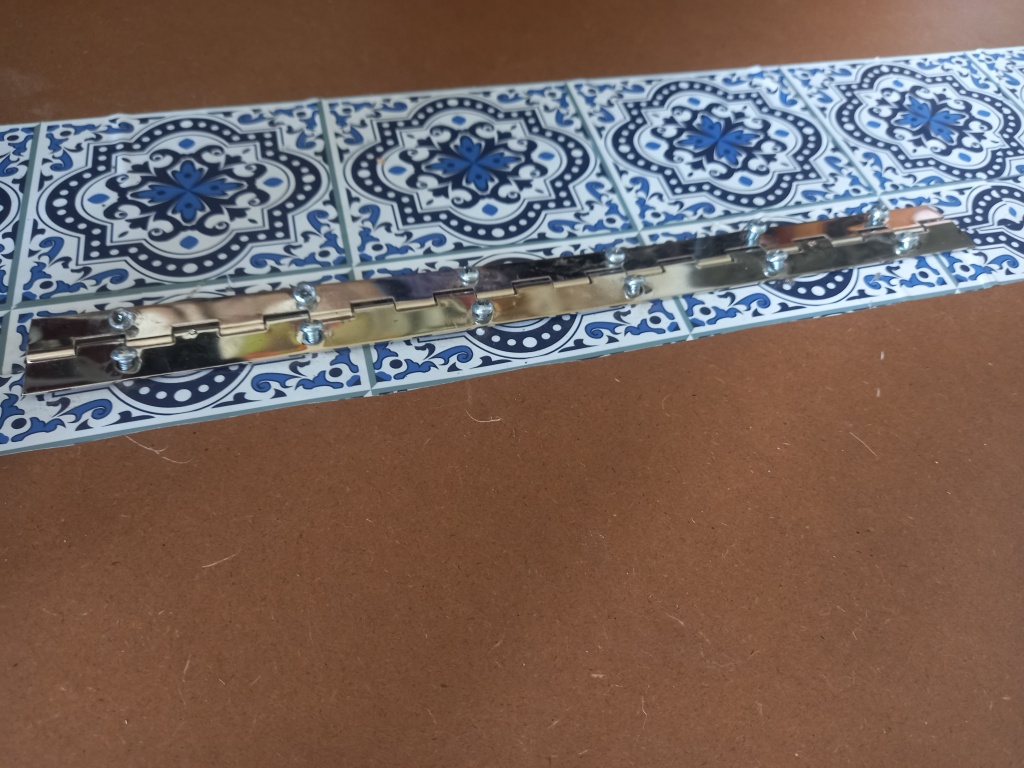
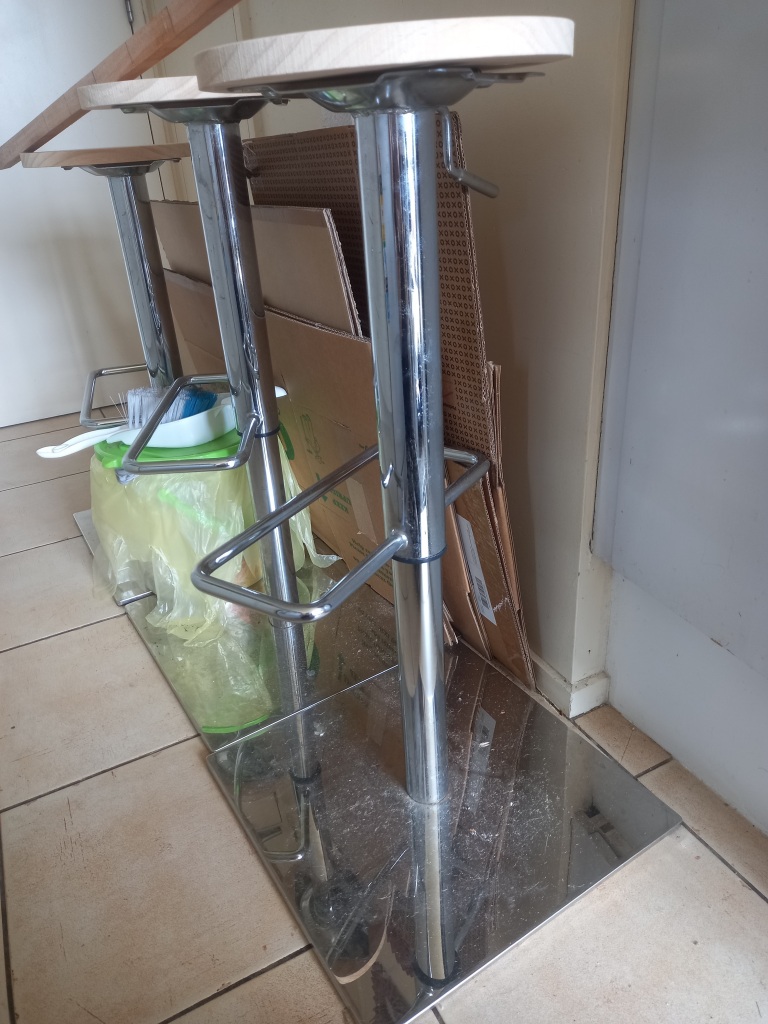
Sidetrack to the bar stools…
But first, I will sidetrack to the story of the bar stools/ saw horses. I got 3 bar stool bases off Trademe for $7 and then paid $45 for them to be delivered. They can adjust from being a sit down stool to being a bar stool, making them a perfect match for the table which is also height adjustable.
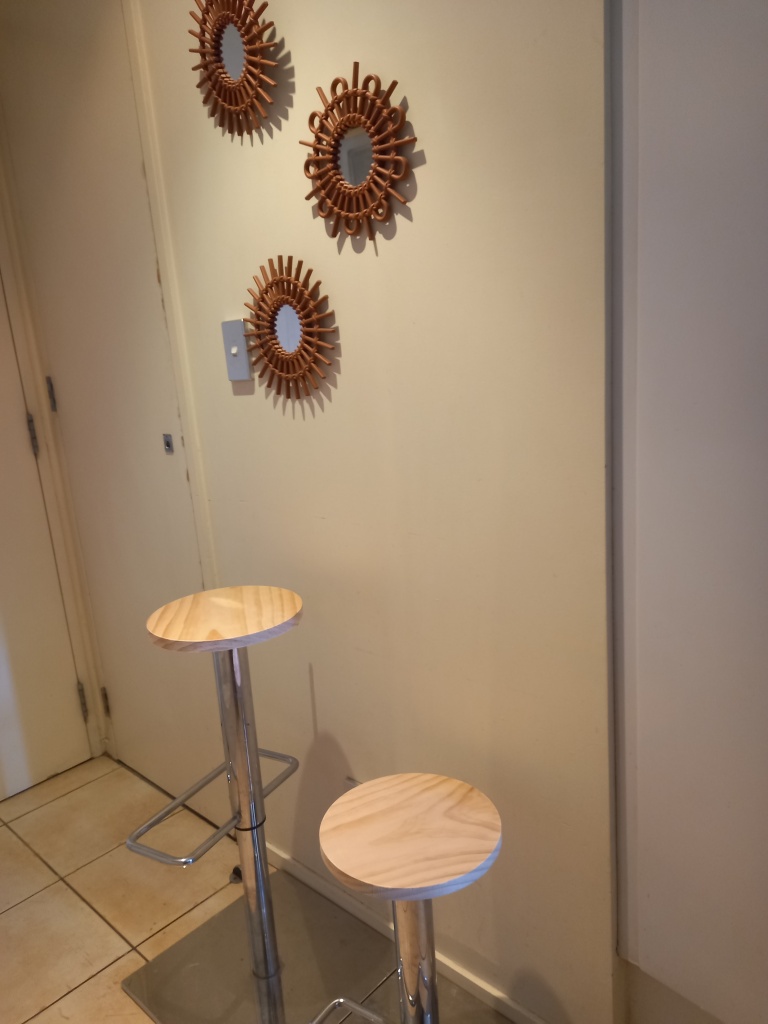
However, these accidentally went to the same street address in Christchurch. Next, they turned up at my place in the one hour in the day of working from home that I was out. The day they were successfully delivered was the last day of the 1 week that I had the tools from the tool library and also the day of an apartment inspection. This day involved intensively vacuuming up all of the saw dust, a trip to Bunnings to get the right screws and then screwing the tops in place (making a little more saw dust yet again). I sold the third stool to a friend and have yet to decide whether to add cushioned covers or to stain the wood. They function as useful tables as they are.
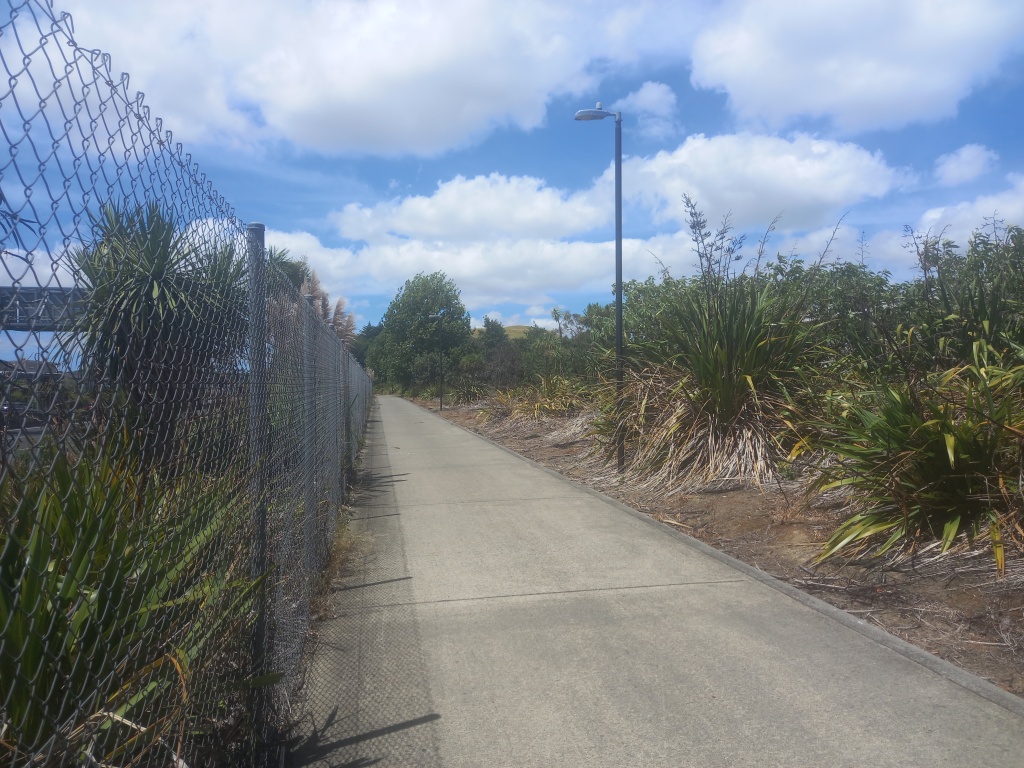
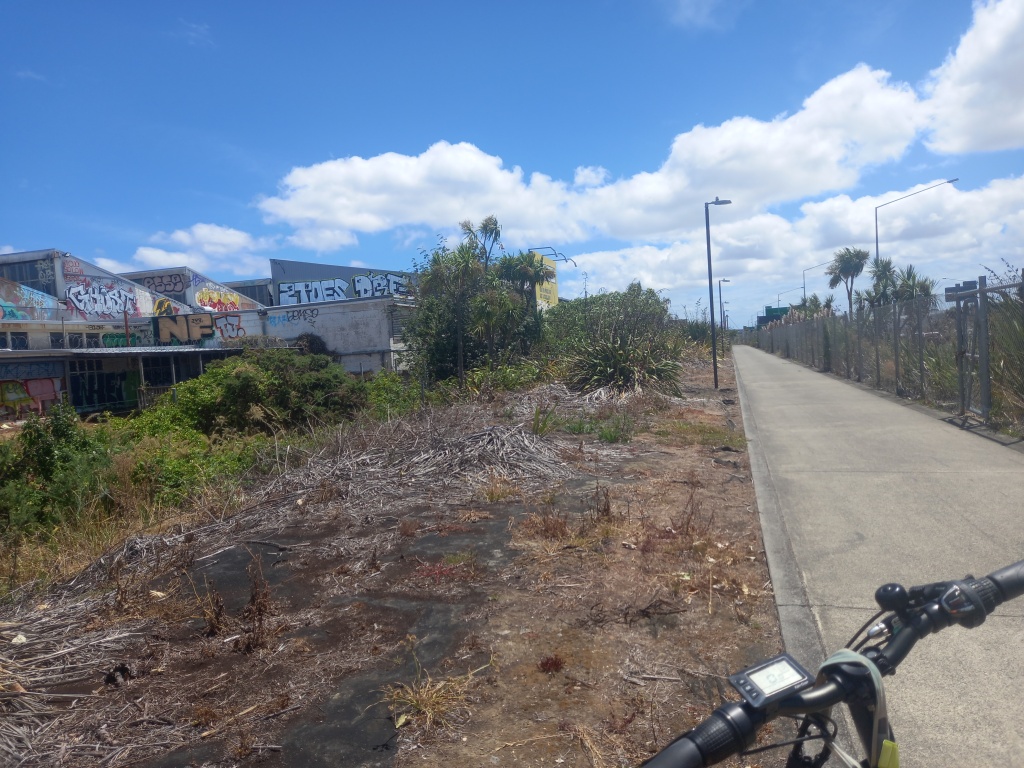
And zoom into the mirrors on the wall: these were bought second hand off Trademe and picked up on a bicycle adventure which involved checking out the beginning of Auckland’s Southern bicycle route. Not sure if my hobby of picking up cheap local stuff off Trademe using my bicycle has a name or a niche, but it is recommended.

Returning to the story of the table…


The story ends here for now as I need to wait another week to borrow the power tools to complete the project.
The whole project including stools has worked out at under $300. It is more than I would usually spend on furniture, but is much less than if I bought readymade furniture with this level of versatility, with an added bonus that it has given me an excuse for some wholesome learning and enjoyment.
Final word: Since I finished this project, I have moved to a different rental apartment and the table has taken up prized place in a new spot by the window. Its everyday purpose is a low-down arts or crafts or work-day lunch table, with the option to be opened up when guests come for dinner. I purchased some velcro ties from the Daiso Japan shop to keep the extra table legs when it is folded up- they are attached with some screws. The stool has been stained with coconut oil and some string attached around the edge with PVA.

